Changing your Bearblog font
Step 1: Find your Font
Google Fonts has lots of options. Go there, click around, find one you like. As a very general rule, you want something that is simple and utilitarian, like a sans serif, for body text. You can google "Types of typefaces" for more information on typography; it's outside the scope of this tutorial.
Step 1a: Teacher, teacher, my font isn't on one of those!
if you've got a .ttf file, you can go here to convert it to the necessary filetype (some .woff and .woff2 files) and get some handy CSS snippets we'll end up using later. It'll come in the form of a .zip file.
If you're using free Bearblog, you'll have to find some way to upload the files to a hosting site to link to them in your little CSS snippet. You could probably do this with google drive, but wherever you decide to upload to will be plainly visible in your website's code, so it might be best to pick something not connected to your personal stuff.
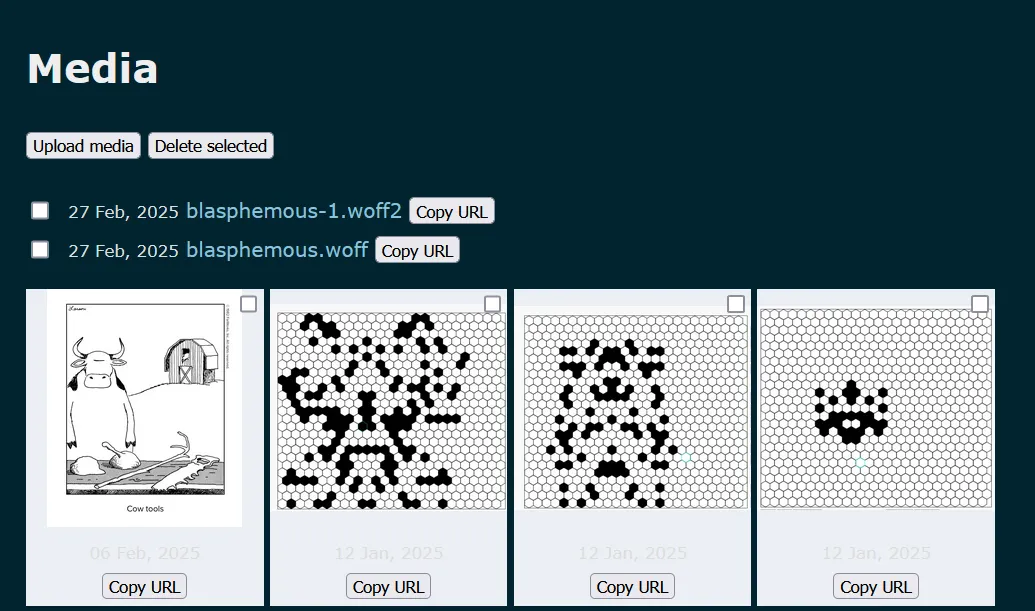
If you've paid for Bearblog, you can upload the .woff and .woff2 files to bear directly using the Media tab:
Step 2: Assemble our Snippets
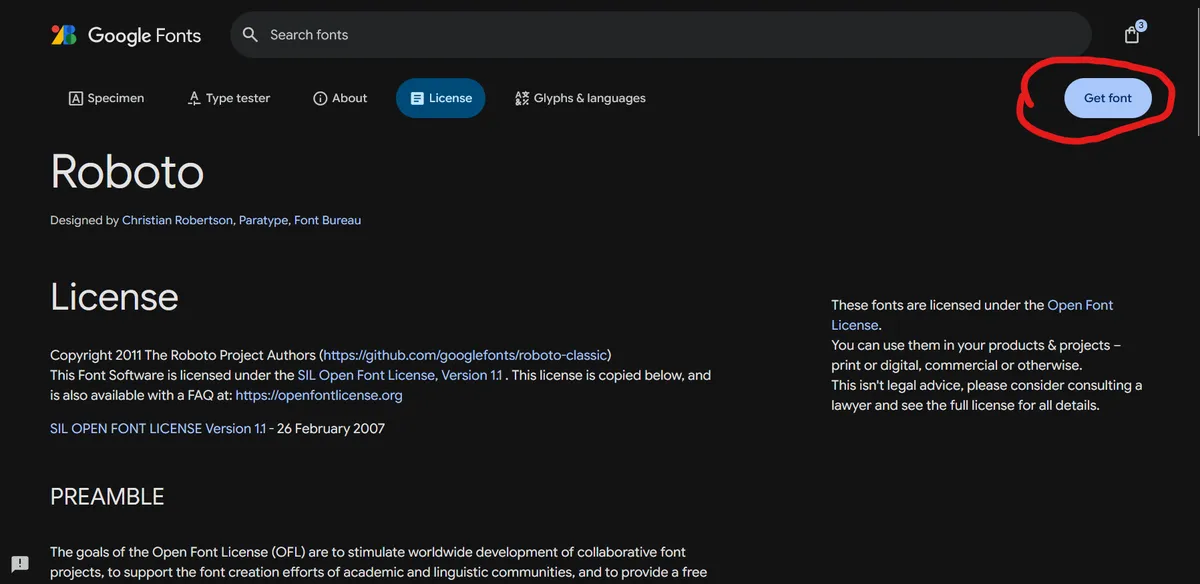
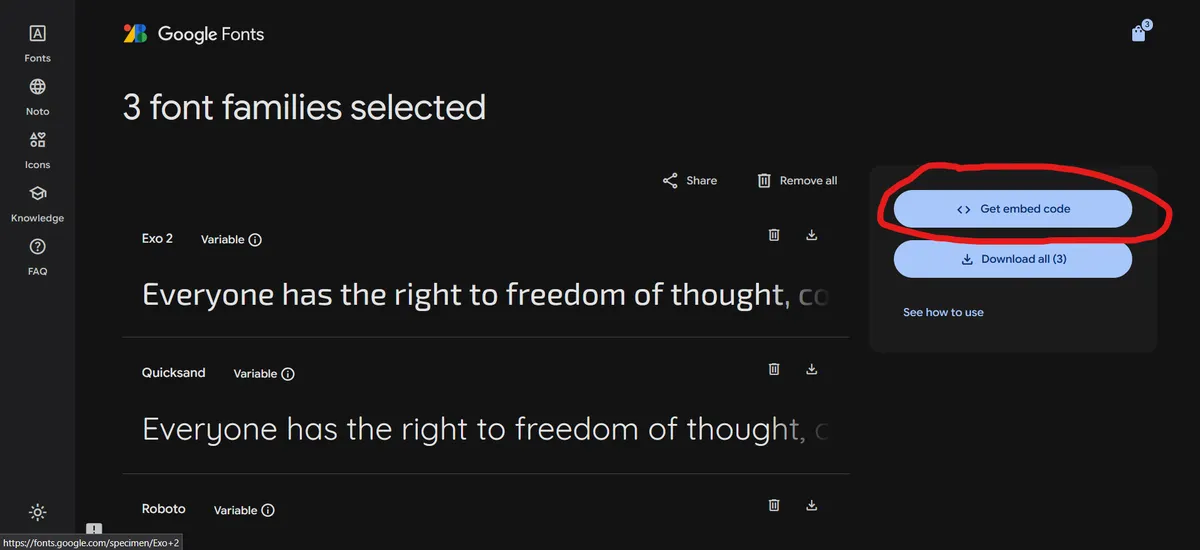
If you're using Google Fonts, You're looking for a button called "Get embed code" when you click "Get Font" on a particular font.
You'll see a ton of options here that are pretty overwhelming, but Google has some pretty handy tooltips that are useful for deciding what you want the font to look like. Use the left column to make some finer adjustments to your font.
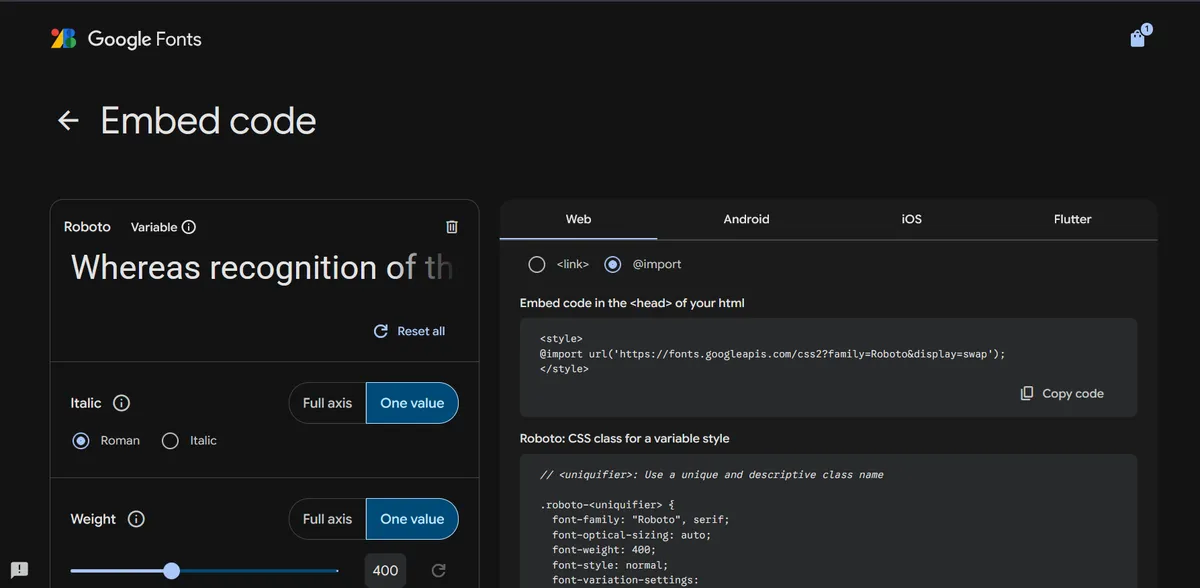
The "Weight" of the text is how thick it is. High weight means bold text, low weight is skinnier text. "Width" is how wide each letter is. Smaller widths make the text look cramped, larger widths makes the text stretched out and can be hard to read. Google has some presets for each font that you should use.
By default, Google wants to give you the whole range of what a font can look like. Unless you're a turbo nerd (positive connotation!), you probably won't want to bother with this. Pick a specific weight and width and go from there.
On the right column, select the "@import" button and copy the first chunk of code (The one labeled "Embed code in the
of your html" ) to a text file (or just leave a tab open in your browser until you need it).Step 2a: Teacher, Teacher, what about the folks who didn't use Google Fonts?
If you followed the instructions in Step 1a, you should have a file with all of the relevant code snippets in it already.
Step 3: Bearblog & CSS
In the Bearblog dev website, navigate to the "Themes" tab:
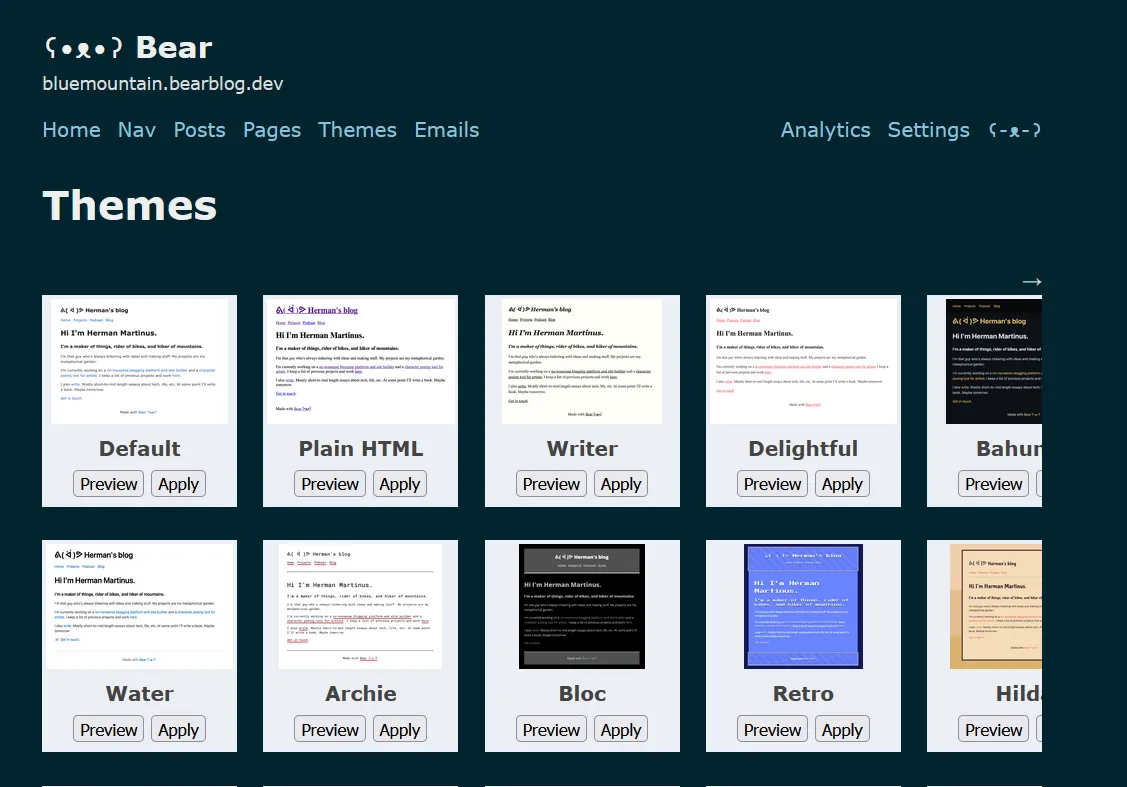
Scroll to the very bottom and you should see a large text box that says "Edit theme CSS":
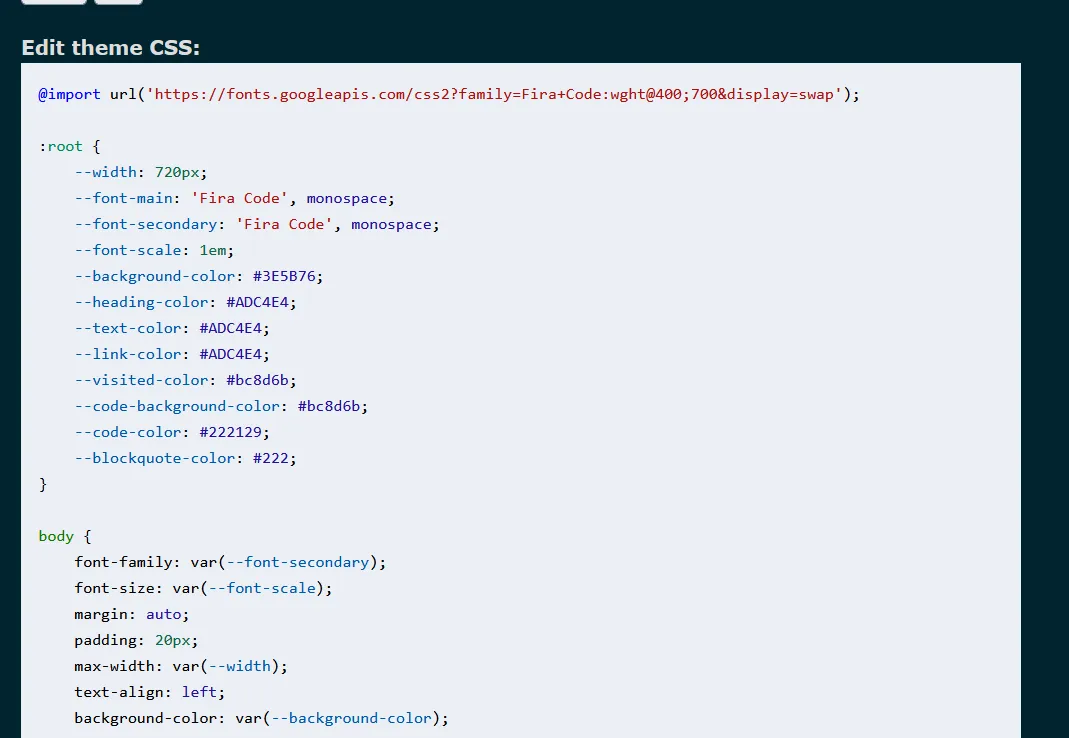
Remember that code I asked you to copy earlier? We're gonna slap that bad boy in right at the top. Then, we're going to rename the "--font-main" and "--font-secondary" values in that big block of code in the center of the above screenshot to the name of our new font.
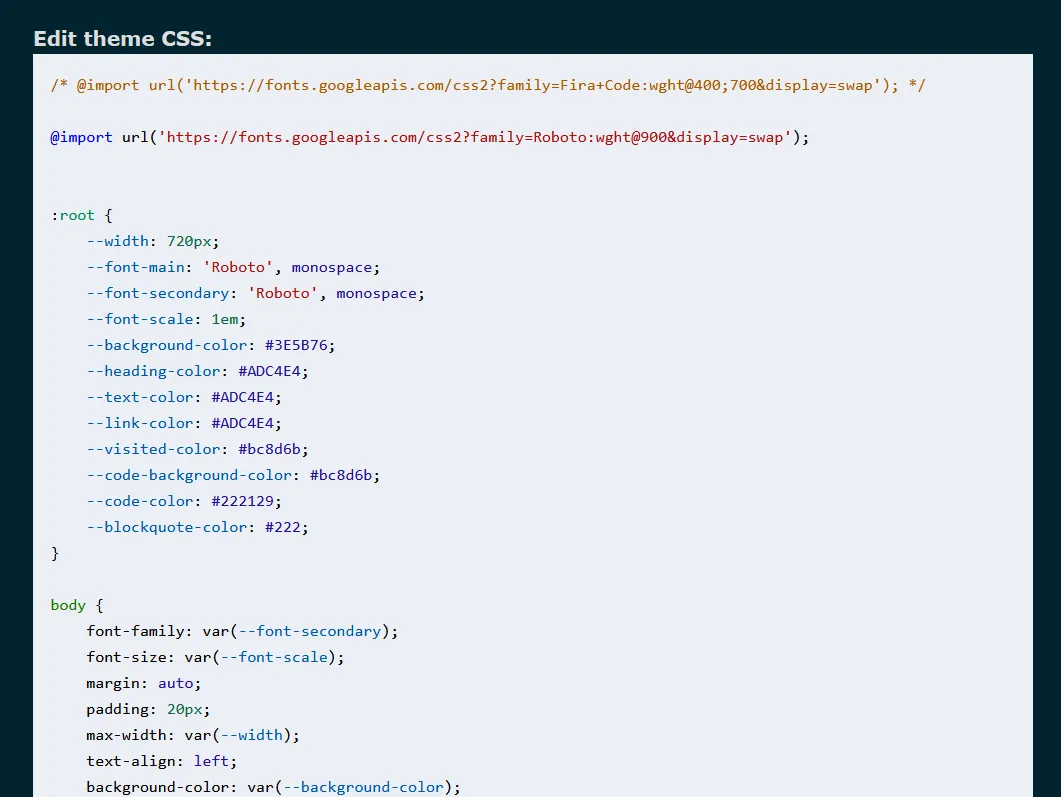
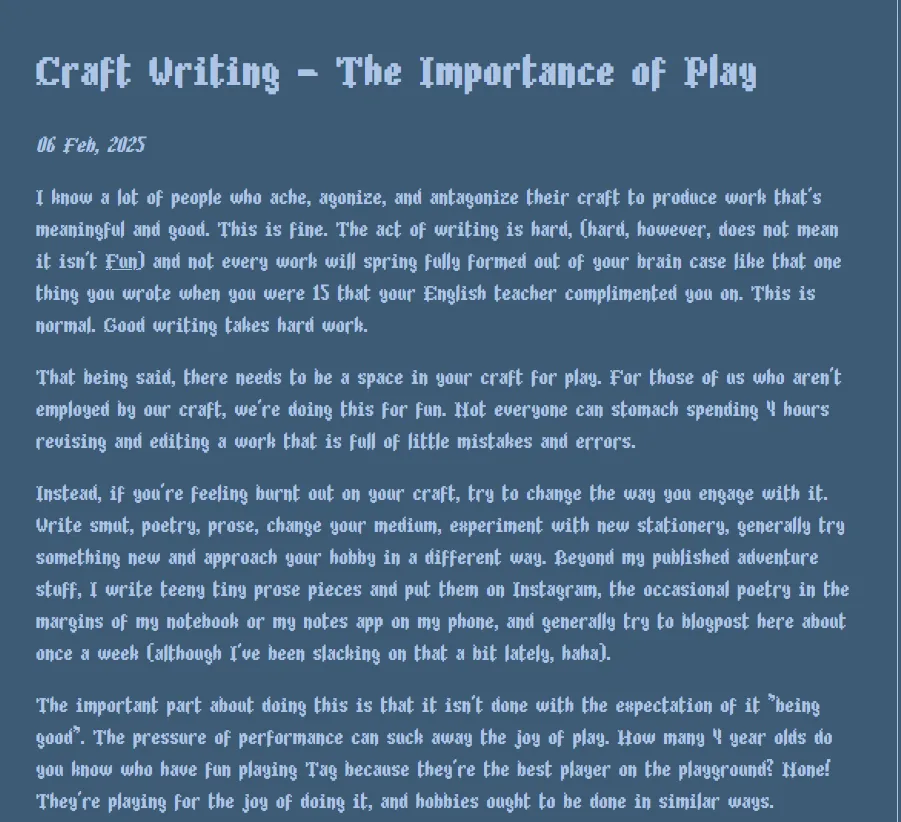
Now, if we hit the "publish" button, our font should be different! Let's take a look at my Blog's homepage:

Very different!
Step 3a: Teacher, Teacher, I'm not using Google!
It's the same process; We'll use the snippet we got from the website I linked in Step 1a at the very top of our code to do the same thing that the "@import" line of code does in Step3. Here's the snippet and the changes I made:
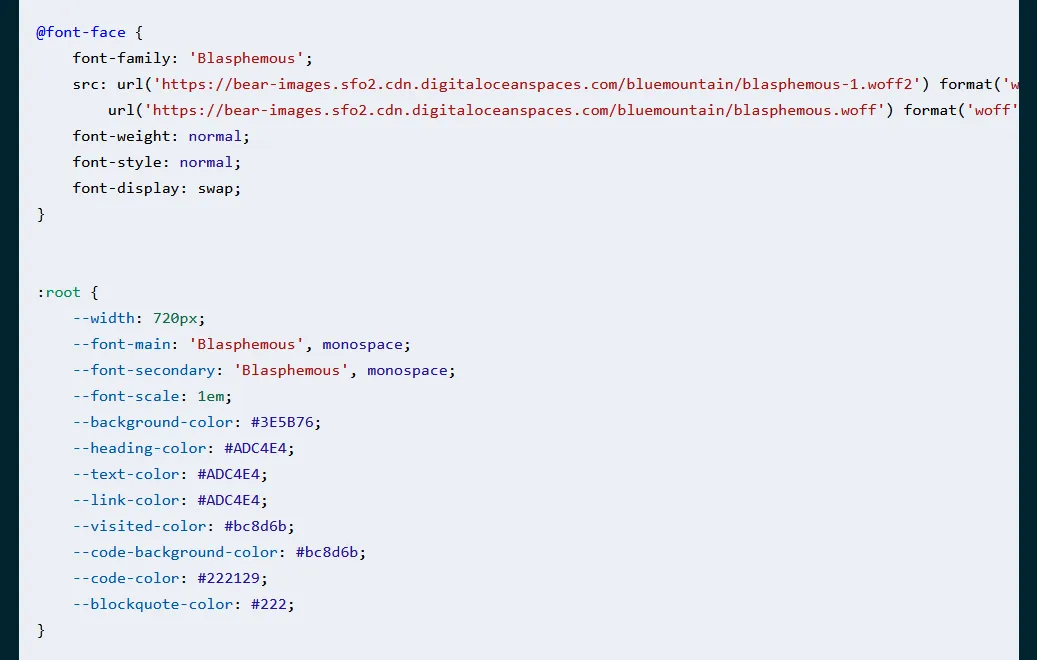
Let's take a look at the code snippet I placed in here:
@font-face {
    font-family: 'Blasphemous';
    src: url('https://bear-images.sfo2.cdn.digitaloceanspaces.com/bluemountain/blasphemous-1.woff2') format('woff2'),
        url('https://bear-images.sfo2.cdn.digitaloceanspaces.com/bluemountain/blasphemous.woff') format('woff');
    font-weight: normal;
    font-style: normal;
    font-display: swap;
}
And compare it to the code snippet that the website in Step 1a gave us
@font-face {
    font-family: 'Blasphemous';
    src: url('Blasphemous.woff2') format('woff2'),
        url('Blasphemous.woff') format('woff');
    font-weight: normal;
    font-style: normal;
    font-display: swap;
}
You'll have to rename the URLs in the "src" field (the things that say 'Blasphemous.woff2' and 'Blasphemous.woff' in the above code) to the URL of wherever your files are. You can see I did that above. Let's look at what it looks like: